How to Set Up a Beautiful Product Photo Studio with Just Your Boxes
You don’t need a professional photo studio or expensive gear to showcase your products in the best
light. In fact, you already have one of the most versatile tools at your fingertips—your shipping
boxes. With just a few basic supplies and a little creativity, you can create a clean, branded photo
studio setup using only boxes, natural light, and your smartphone.
Here’s how to turn your packaging into a powerful branding tool—not just for shipping, but for
creating beautiful product photography.
1. Build a DIY Lightbox Using Cardboard Boxes
Start by choosing a medium or large shipping box. Cut out the top and two side panels, leaving about
a 1-inch frame around the edges. Cover these openings with white tissue paper, tracing paper, or
parchment paper to diffuse the light. This simple lightbox setup softens shadows and reduces glare,
making your product look polished and professional.
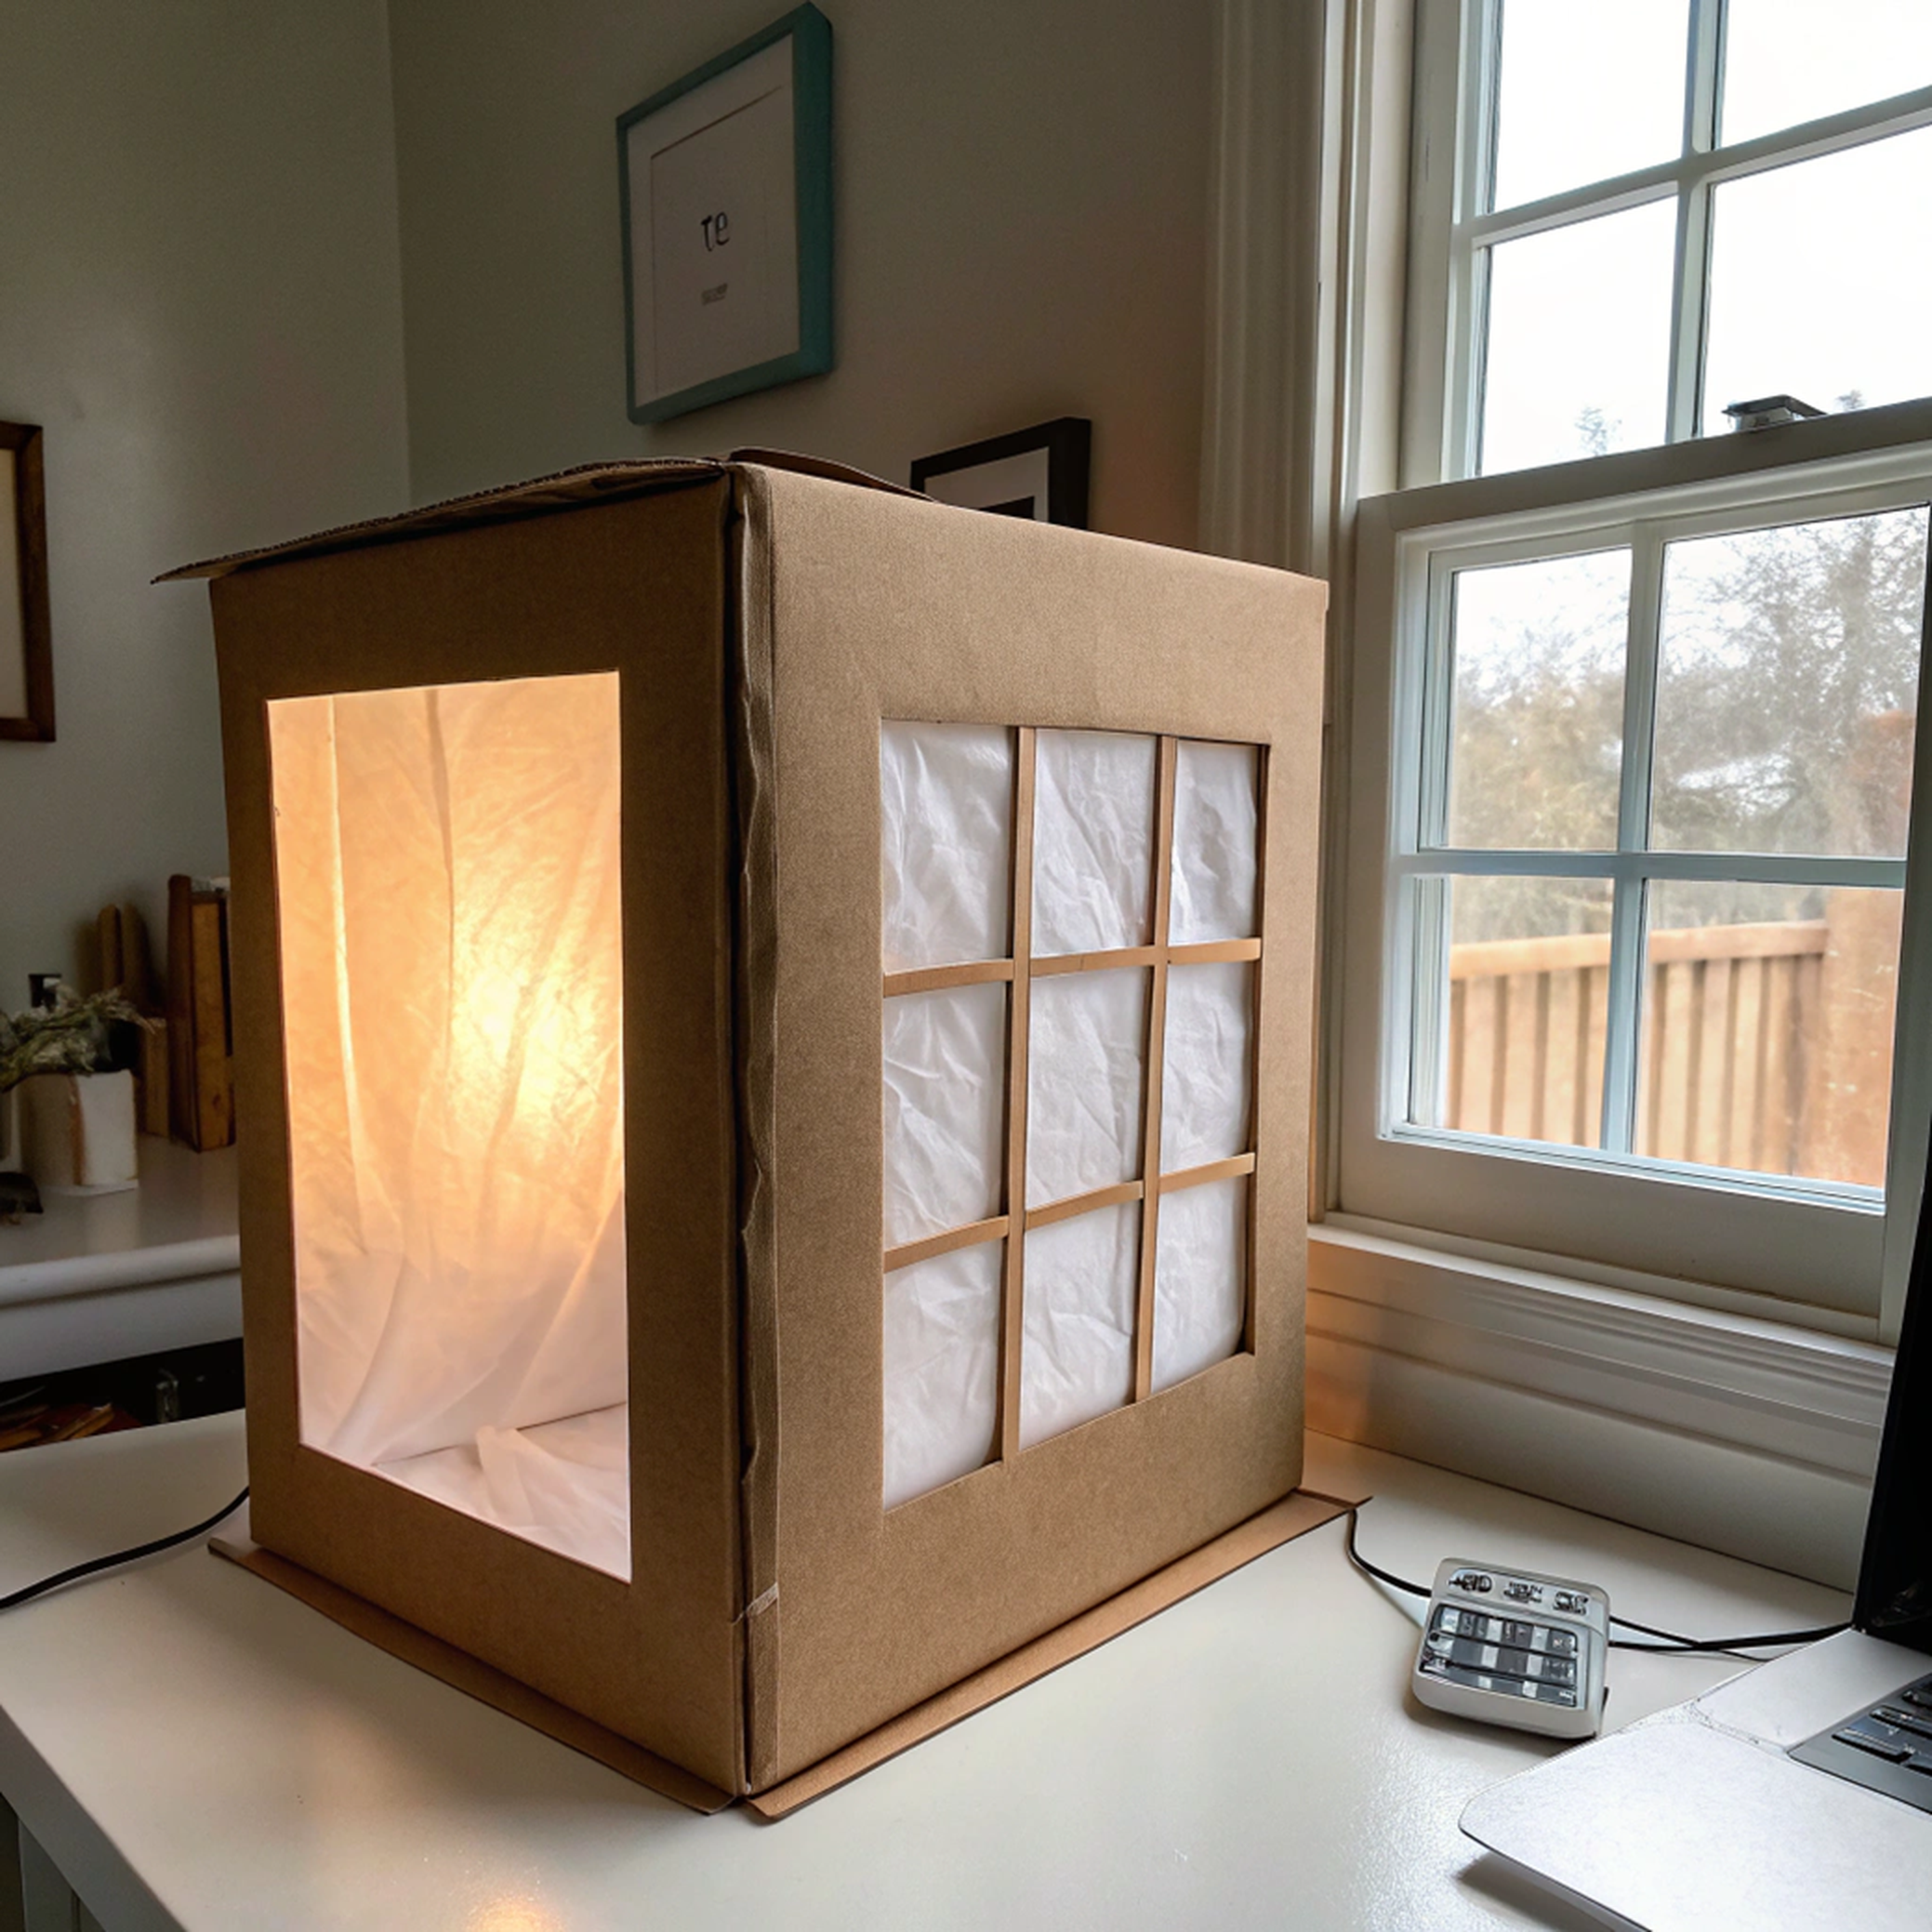 Turn a regular shipping box into a soft-lit product photography lightbox with just a few materials.
2. Use Boxes as Platforms, Risers, or Backdrops
Your boxes aren’t just containers—they’re props. Use small boxes to elevate your product for more
dynamic angles. Stand a box vertically behind the product to create a seamless background. Want a
cleaner look? Wrap boxes in white paper, branded tissue, or kraft wrap for consistency with your
packaging theme.
 Stacked boxes wrapped in white or kraft paper work as clean and versatile display platforms.
3. Harness Natural Light and Reflect With Box Flaps
The best lighting is free—use daylight! Set your studio near a large window, ideally during
mid-morning or late afternoon for soft, warm light. To reduce harsh shadows, cut open an extra box
and use the inner white side as a reflector to bounce light onto the shadowed side of your product.
Pro tip: Face your product at a 45-degree angle from the window for optimal lighting.
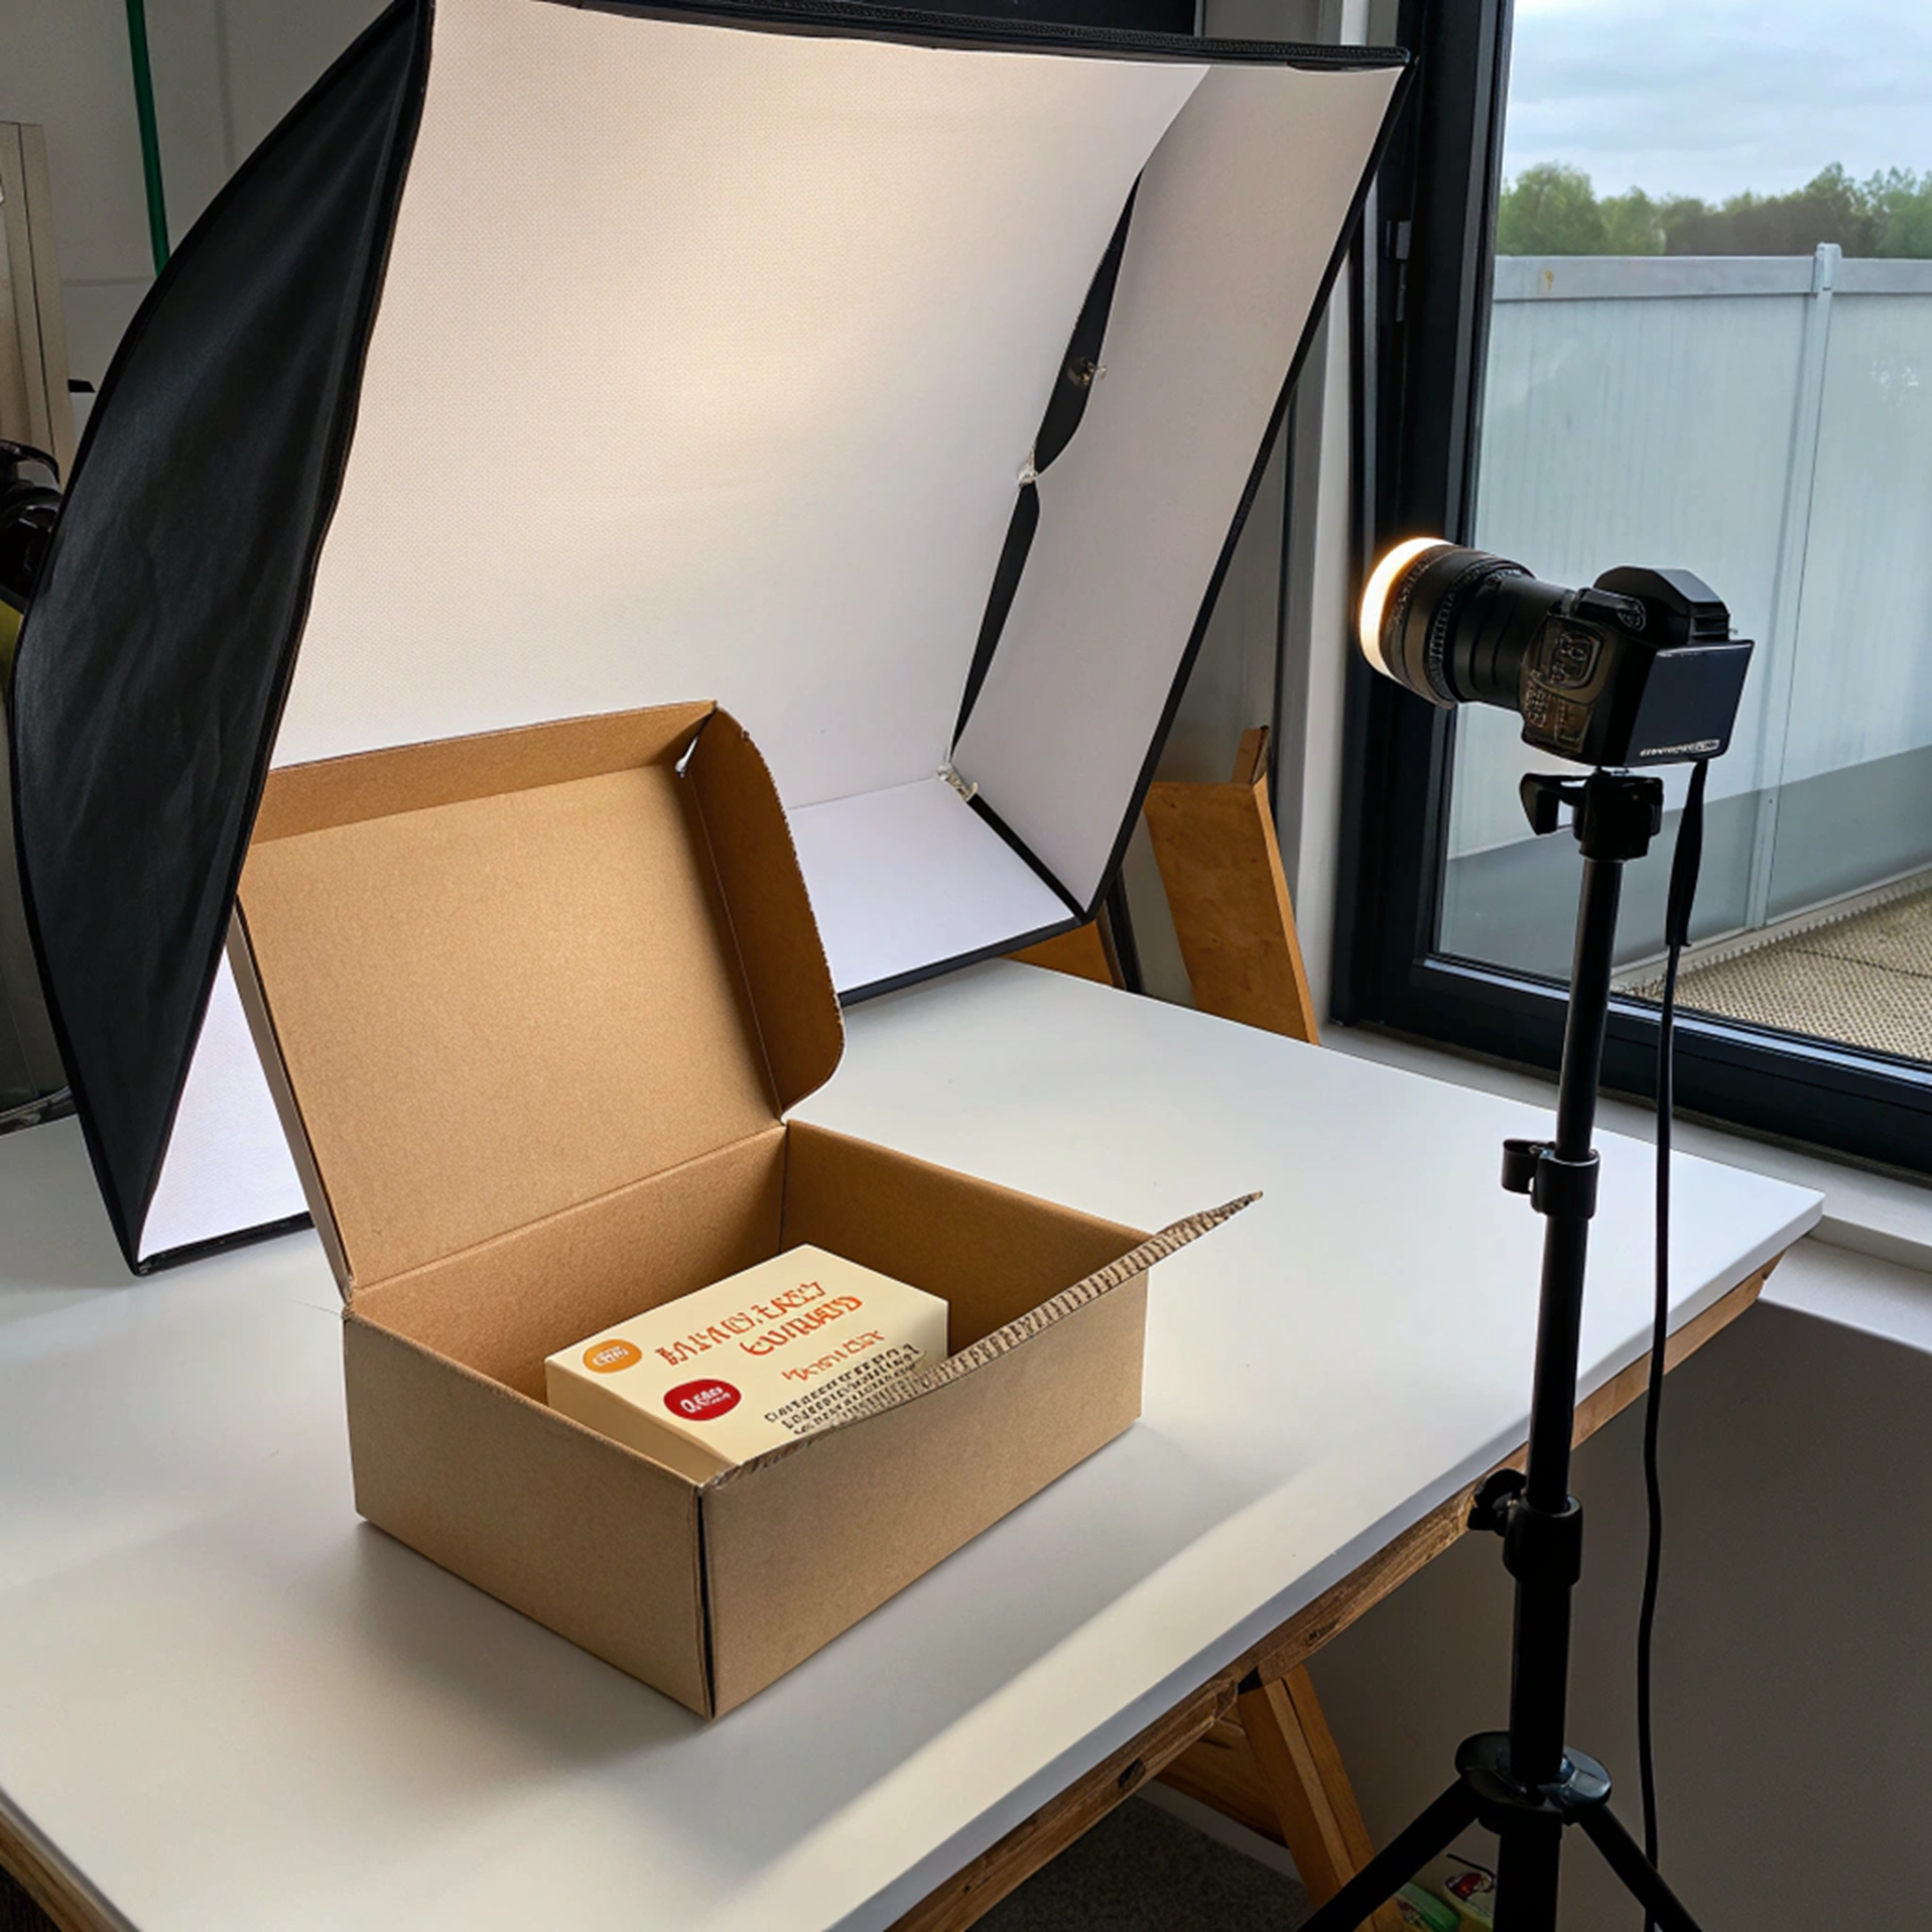 Cardboard box flaps make excellent reflectors when used with soft natural light for balanced product shots.
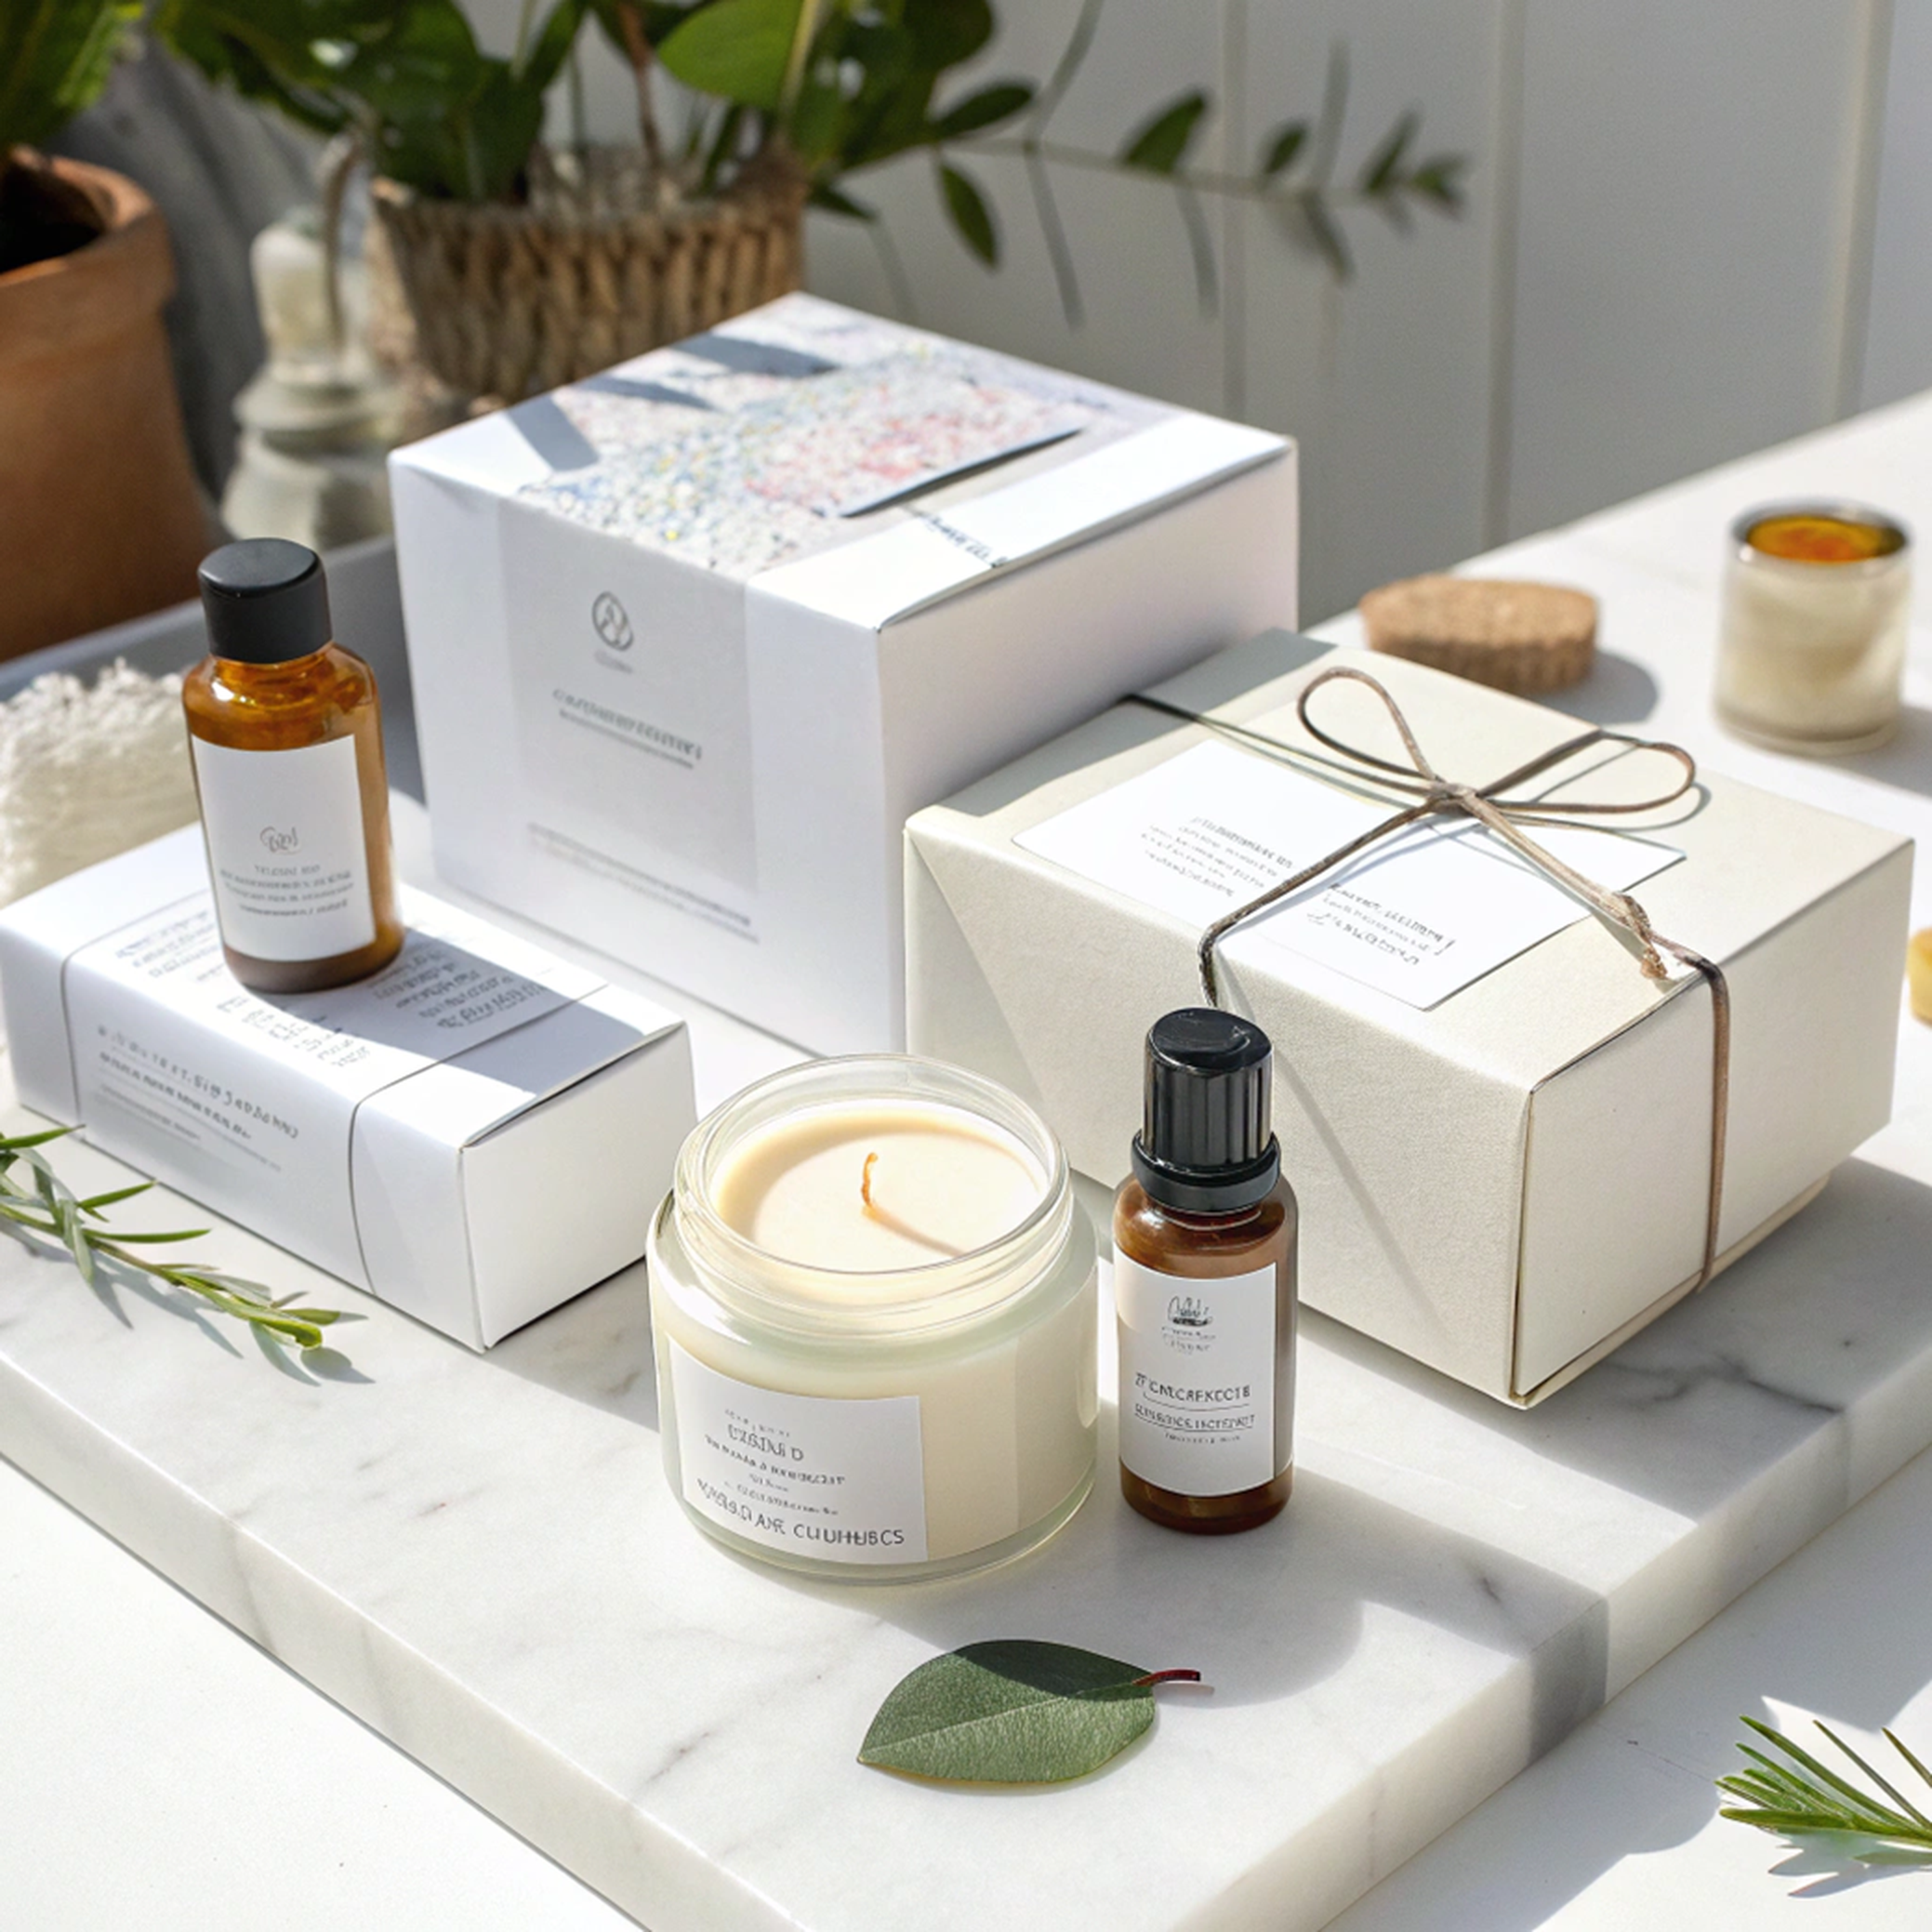
4. Use Your Brand Colors in the Scene
Great photos reinforce brand identity. Include elements like branded tissue paper, your shipping
label, or color-themed packaging to create visual consistency. Place a box in the background with
your logo subtly visible or use your brand's box as a base for your products.
 Showcasing your logo subtly in your photo scene builds brand recognition and trust.
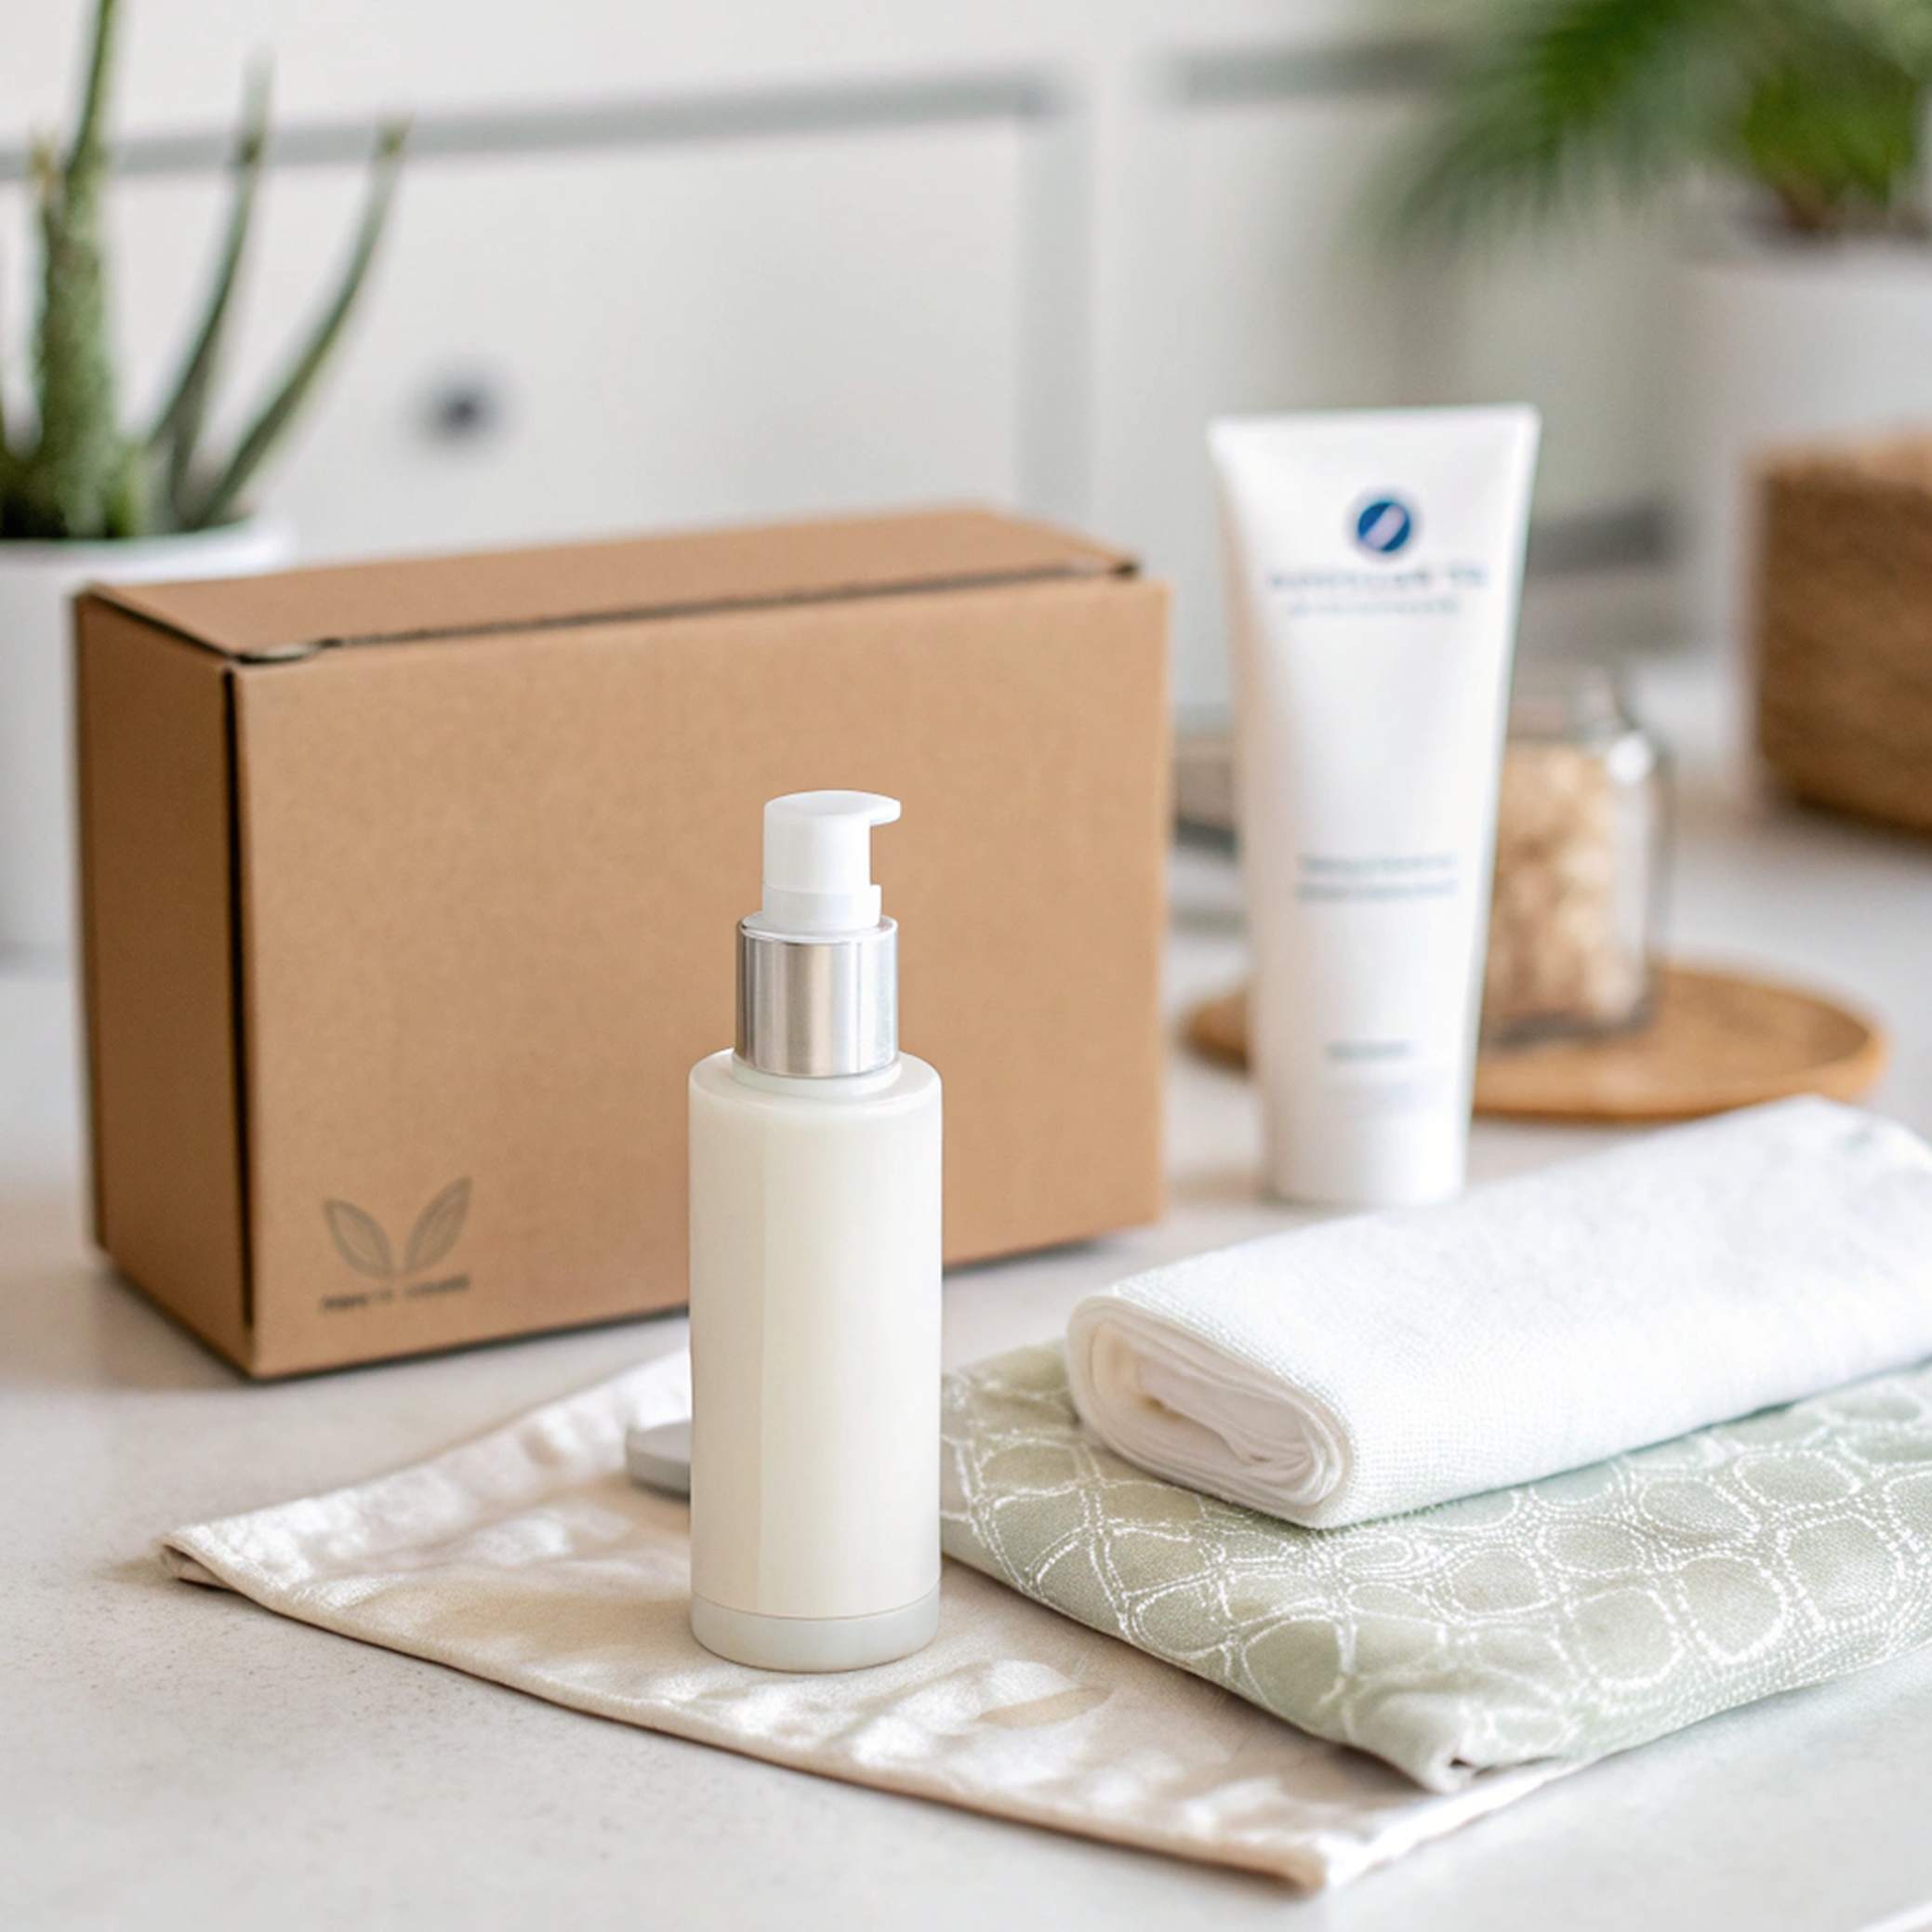
5. Shoot With Your Phone—No Pro Camera Needed
Most modern smartphones are more than capable of capturing high-quality product shots. Use gridlines
to center your product, and tap to lock focus and exposure. Try using portrait mode for shallow
depth of field, or third-party apps like Lightroom Mobile for even more control.
Remember: consistency is more important than perfection. Use the same setup, angles, and lighting for each product for a cohesive online shop.
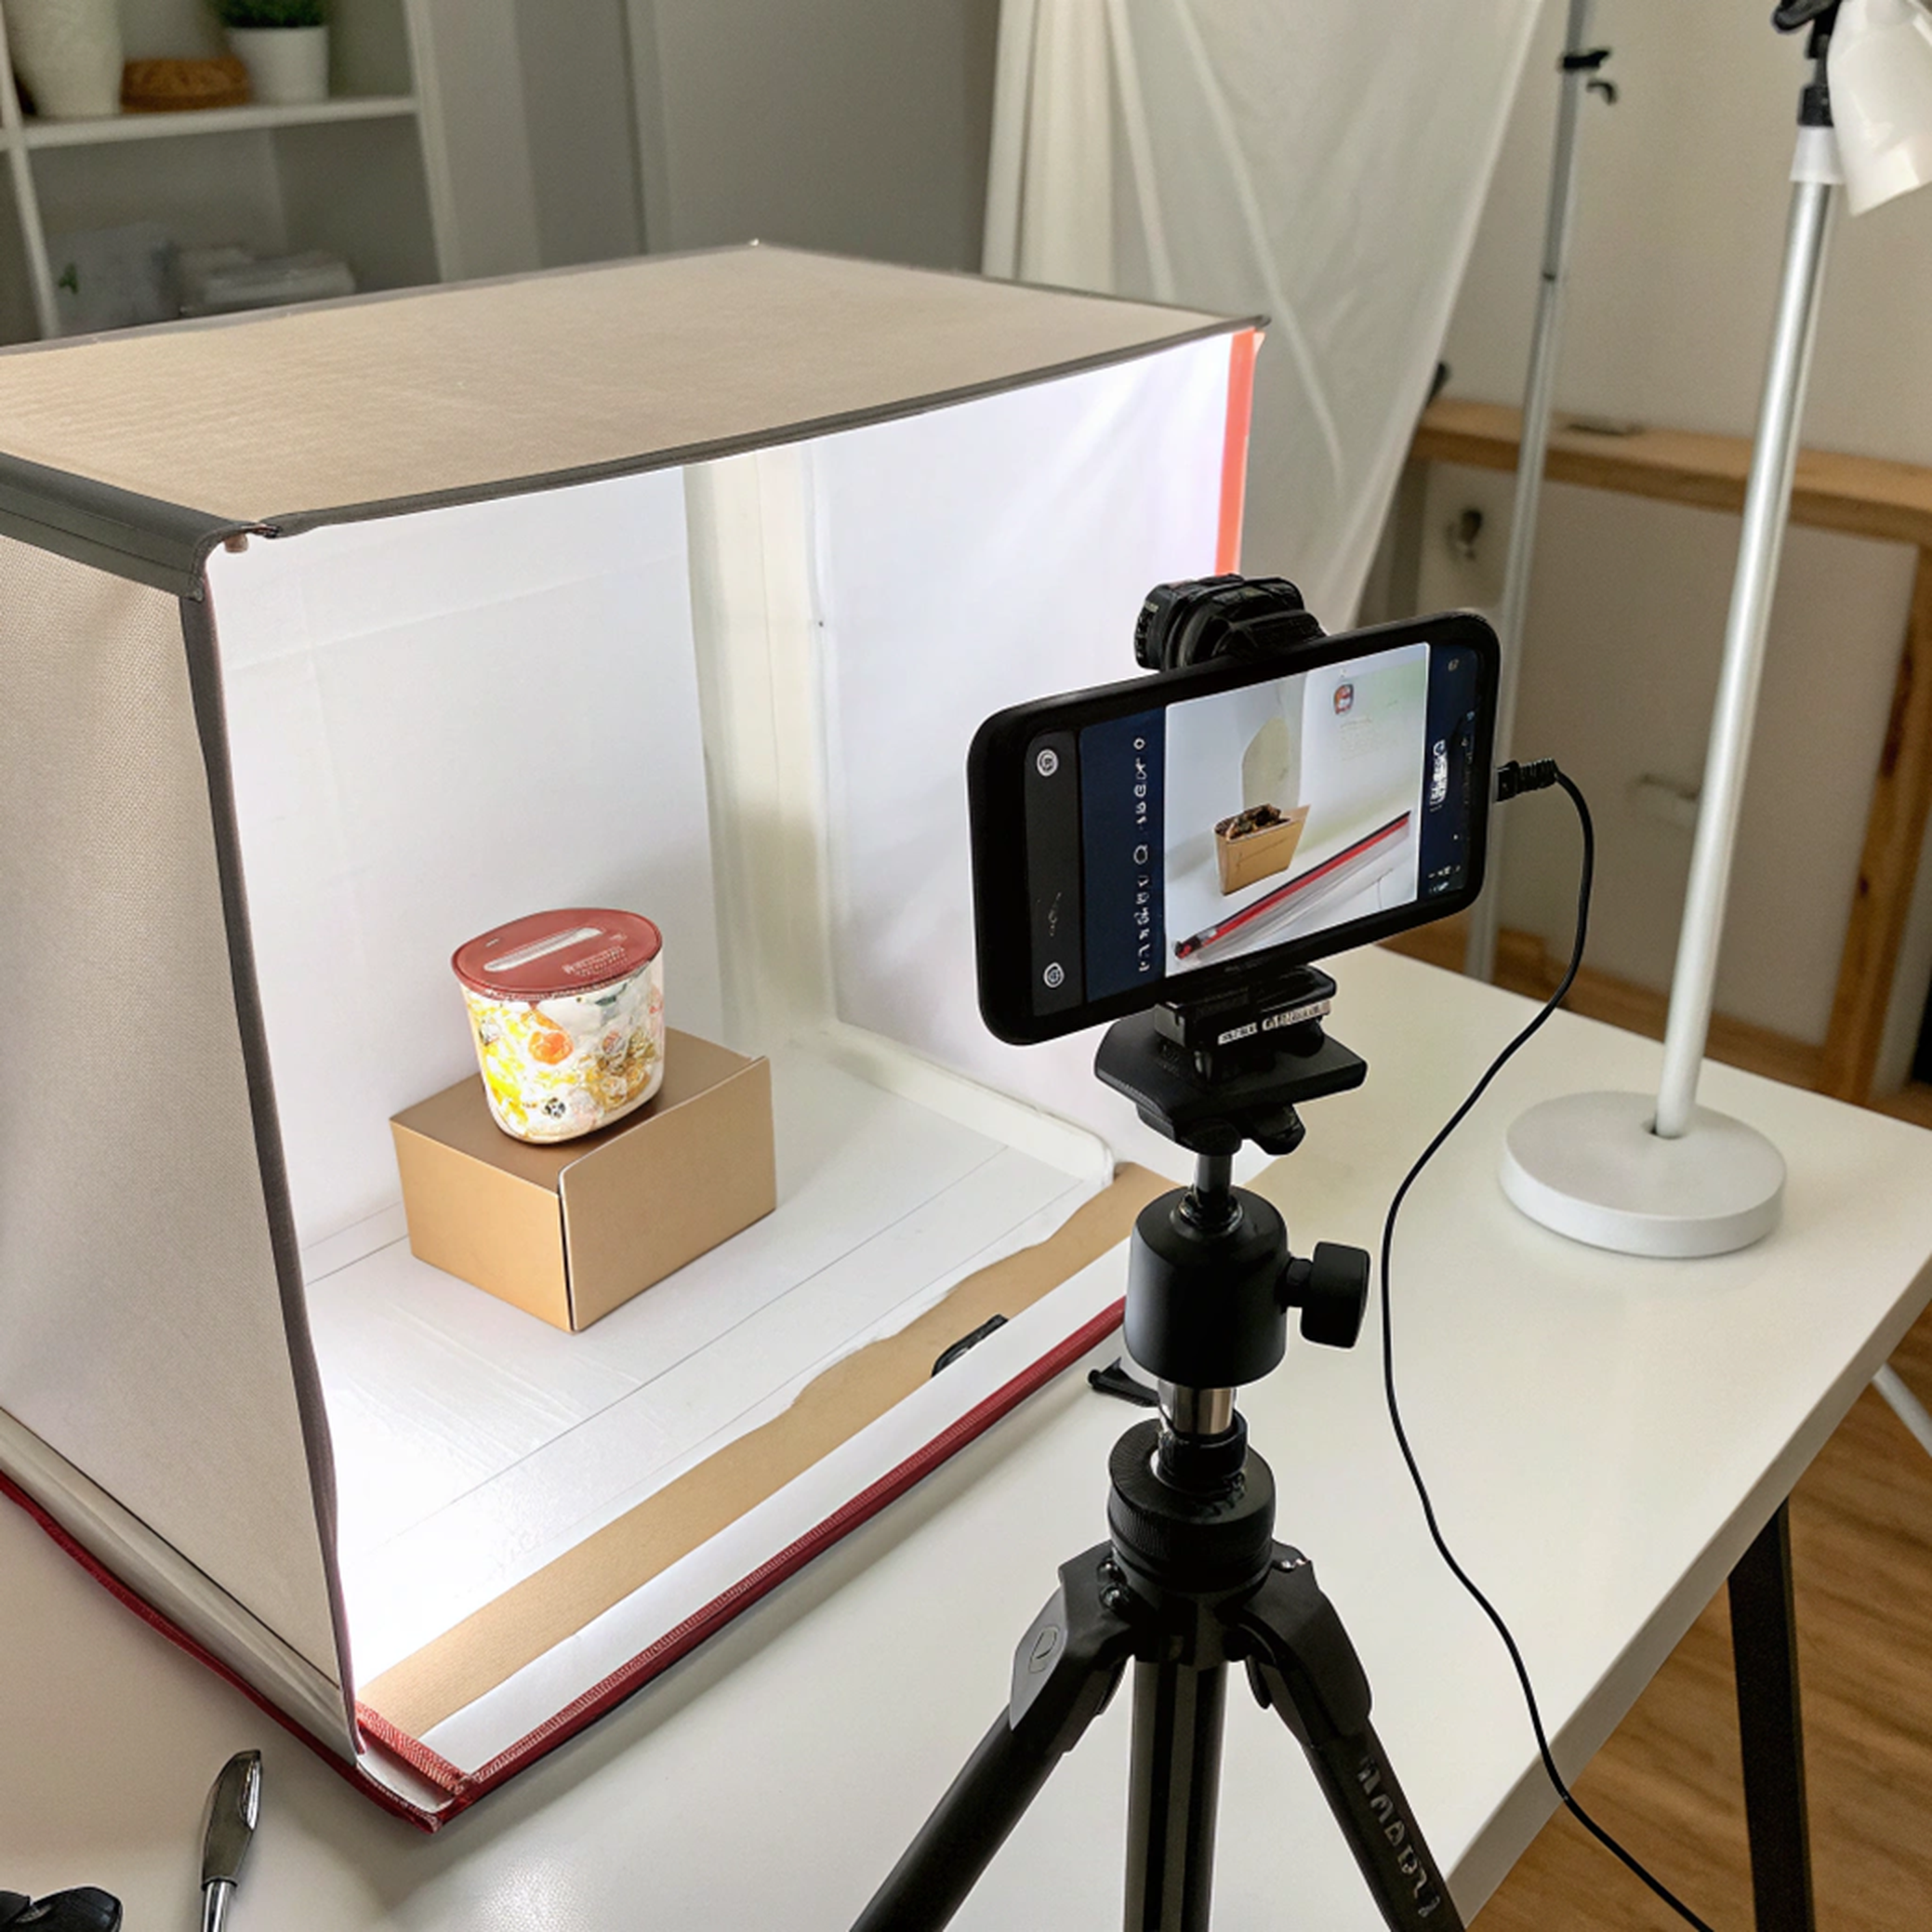 You don’t need fancy gear—your smartphone and good lighting are all it takes to elevate your brand visuals.
Final Thoughts
Professional-looking product photography doesn't require a studio or big investment—just creativity
and smart use of your packaging materials. With a few well-placed boxes and thoughtful lighting, you
can create a branded visual experience that elevates your online store and social media presence.
At Best Box Store, we’re passionate about helping small brands make a big impression. Need packaging
that looks great on camera and in your customer’s hands?
Let’s create packaging that performs beautifully—on shelf and on screen →